

Installing cabinet crown molding on the top edge is one way to give a finished and polished look to the wall cabinets. Crown molding on cabinet helps in eliminating the appearance of a dark shadow of soffits present on the cabinets and gives a very fine-looking carpentry look even though you are a beginner with carpenter skills.
Follow these tips for installing crown molding on cabinets.
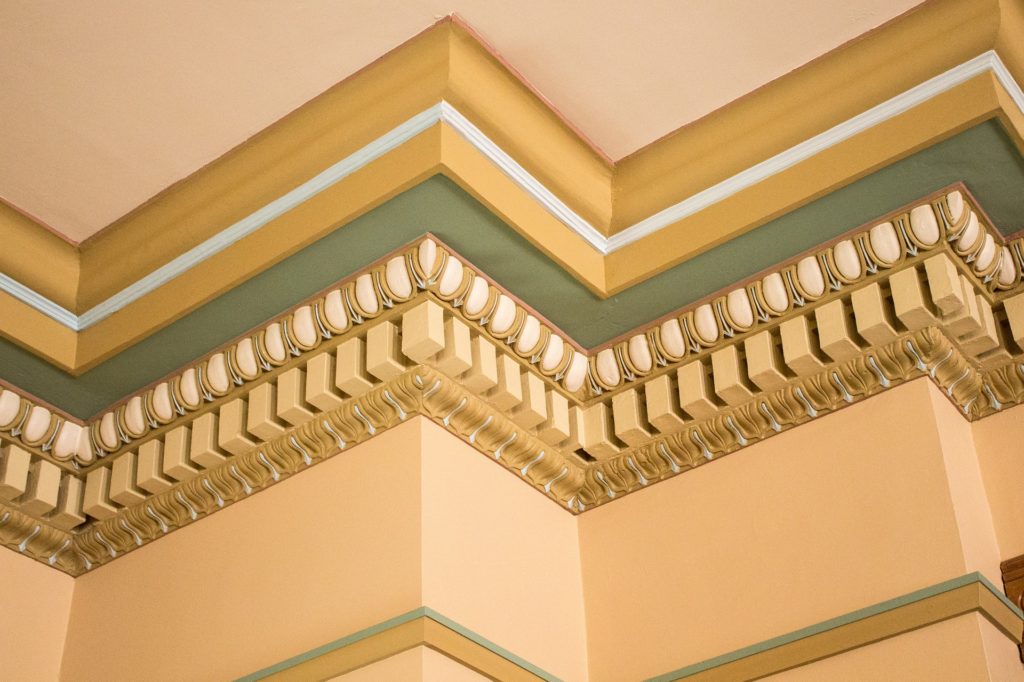
How Does This Work?
Crown molding for a cabinet is not directly nailed on it.
The one trick that makes installing crown moldings on the cabinet is adding wooden nailing strips on the top of wall cabinets.
These wooden strips will let you position the crown molding accurately and also provide a place to nail on other areas of the cabinet. These strips are placed at the back and therefore are covered by the crown molding, which makes them invisible.
ALSO READ: How do Smoke Detectors Work?
Safety Considerations
Crown cabinets run are parallel to the lower base cabinets, and you may feel tempted to use the base cabinet’s countertop as a ladder to reach the wall cabinet. Do not be tempted to do this.
The countertops for the beginners are too high to be used as a ladder. Also, countertops of the cabinets are too slippery, and you might end up damaging them if you stand on them for too long. Instead, you should use an actual ladder for this work.
Things You Will Need
| THINGS | MATERIALS |
| Electric nail gun Tape measure Electric miter saw Sheet plastic or masking film Six-foot step ladder Fine-grit sandpaper Painter’s tape Speed Square Two-inch angled paintbrush | Crown molding Interior paint One-by-two lumber Primer |
Instructions To install Kitchen Cabinet crown moldings
Measure the Nailing Strips
With the help of a measuring tape, you have to measure the depth and width of the wall cabinets. These measurements are necessary because you will wrap the crown molding along the edges of the cabinets.
Do the total of both the figures; for instance, if the width of the cabinet is 36 inches and depth is 12 inches, then the total sum would be 60 inches (includes both rights and left dept 12+12=24).
Measure the Lower Edge of Crown Molding
To get a sleek appearance, the bottom part of the kitchen cabinet crown molding should be flush with the front of the cabinets. This implies that nail strips should be put at the back on every side of the thickness of the lower side of the kitchen cabinet crown molding.
With the measuring tape, take the crown molding measurements of the thickness. For many crown molding profiles, the thickness is usually about ⅛ inch.
Cut the Nailing Strips
Cut nailing strips of the size of the perimeter of the cabinet minus the thickness of the lower edge of the crown molding. For instance, if the thickness of lower edge crown molding is ⅛ inch then:
Front Strip
The front nail strip should be equal to the width of the kitchen cabinet, minus ⅛ inches from each end for the total ¼ inches subtraction. If the cabinet is 36 inches wide, the front strip will be 35 ¾ inches.
Side Strips
The length of every side of the nail strip should be measured by starting from the depth of the wall cabinet and then subtract
- One 1/2-inch actual width (not nominal) of the front strip.
- 1/8-inch setback imposed by the front strip
- 1/8-inch expansion gap between the end of the strip and the kitchen wall.
So, if a wall cabinet is 12 inches deep, the length of every side strip will be 10 1/4 inches.
Position the Nailing Strips
Lay the front part of the wood nail strip on the upper part of the cabinet and hide it with the thickness of the lower edge of the crown molding.
As per the above measurements, in this case, it would be 1/8ich gap. Place the strip in the center to leave a space of ⅛ inches on each side. Repeat this method for both side strips, setting back each strip by ⅛ inch.
This method will help you to establish the setbacks using crown molding on its own instead of relying on the tape measure.
ALSO READ: Best Minecraft Kitchen Designs that Challenge Your Minecraft Abilities
Secure the Nailing Strips
Nail the strips to the cabinet with the help of a nail gun.
How to cut crown molding for cabinets
Mark and measure the front crown section of the crown molding to the width of the cabinet. Set the miter saw at an angle of 45 degrees.
Place the crown molding in an upside-down direction against the saw fence at a 45-degree angle.
Cut at the first mark and then move to the next mark. Place the saw opposite to the 45-degree angle cut and then again make a second cut.
Attach the Front Section of Crown Molding
Hold the front section of the molding against the front nailing strip. Be careful and position it precisely.
With the help of a nailing gun drive, many nails though the lower end of the crown molding into the nail strip. The crown molding may look like its drooping at this point, but you can correct this when adding the side sections.
Measure and Cut the Side sections of the Crown Molding
Both the side section of the crown molding will need angle cuts on only on the side. The side that will be left should be cut straight at a 90-degree angle.
For the left side of the crown molding, on one side, make a 45-degree angle to complement the front part of the crown molding. Repeat the same procedure for the left side as well.
Just like you left the expansion gap in between the nailing strip side on the wall, do this exact same for the side section of the crown molding. Do not forget to leave ⅛ inch gap instead of crown molding touching the wall.
Attach the Side Sections of Crown Molding
You can ask someone for assistance at this part to raise the front section of the crown molding to position it at an angle of 45 degrees.
Place the crown molding’s left section against the nailing strip on the left. Remember to make the 45 degree angled flared crown molding sections to meet perfectly.
Hold the angled junction with one hand firmly, and nail the side of the crown molding section in the right place.
Match the Corners
Drive one of the brads from one board to the adjoining board, so that they stay together. Again repeat this step for the left side as well.
Paint and Do the Finishing of Crown Molding
Before you start painting the cabinets, cover them with plastic sheets or maybe a masking film and secure nicely with painter tape. As per the nail holes size, you may either leave them unfilled or fill them nicely using wood putty.
Interior paint can fill the small holes adequately with the help of an electric nail gun. Coat the crown molding with two layers of paint.
Let the paint dry for a few hours before you plan on removing the plastic covering. If you are working on an unprimed crown molding before you start painting, apply at least two coats of primer.
Tips to Install Crown Molding on Cabinets
- Position the wood nailing strips precisely at the top of the cabinets. If you place the strip too far backward or forwards, you may be able to see a small line from afar.
- Use an electric gun always. It not only lets you shoot the thin bard nails but also prevent the splitting of the cabinet. It can easily reach into low soffit areas, which otherwise is quite difficult to swing with a hammer.
- When you go to purchase one-by-two lumber for the wood nail strip, avoid getting the furring strips because they have rough edges. Instead, choose pine, spruce, fir, or any softwood with nice and straight edges.
- Crown molding glue or wood glue is important for securing the crown molding and nail strips together.
- After cutting all the pieces first, try to dry-fit them to check the accuracy, then run a thin line of glue along the sides between the crown molding and the nailing strip. Do not drop the wood glue on the cabinets.


